In this article you will learn:
Whether you bumped into a curb while making a sharp turn or drove through a particularly deep pothole, scratches and swirls in your rims can be difficult to avoid and expensive to repair. These unsightly scrapes and imperfections can put a damper on that "new car" look. Luckily, you can fix most of these scratches yourself. All you need is the right polish, cutting pad and a microfiber towel!
Before trying to fix scratched or damaged rims, it’s important to know what kind of wheels you have and the severity of the damage. Most traditional rims are made of chrome, aluminum, steel or metal alloy, but many manufacturers now produce wheels that have the same clear coat as your car’s exterior panels. If you aren’t sure what kind of rims you’re working with, it’s always a good idea to check with the manufacturer.
Light scratches and swirls in your rims from improper washing techniques or loose debris on the road are easy to fix right in your driveway! If you’re dealing with more severe damage, like curb rash or scuffs from driving on a flat tire, metal or chrome polish won’t be enough to reverse the damage. You’ll need to make an appointment with your auto repair shop to fill in the dent or scratch as needed.
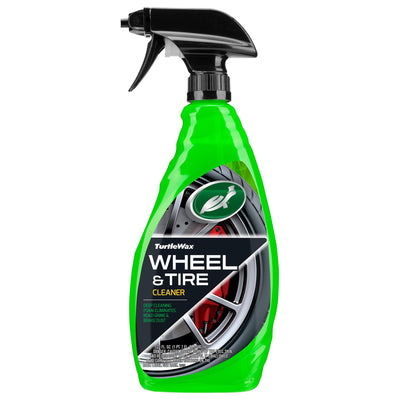
To prep your wheels for restoration, you’ll need a specialty cleaner, like Turtle Wax All Wheel & Tire Cleaner and a gentle wheel sponge or brush. Avoid hard bristle brushes that could leave behind micro scratches and instead, opt for a gentler, more effective tool like the Wheel Woolie or a soft detailing brush.
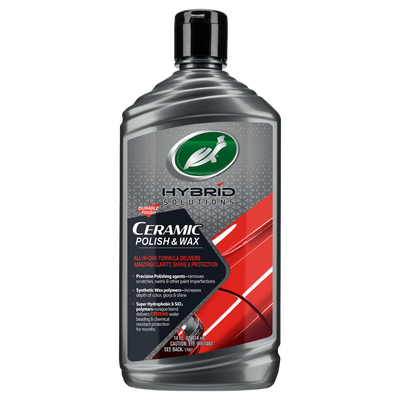
You’ll also need a polish that’s compatible with the kind of rims you’re working with. For metal rims, we recommend a metal polish like Turtle Wax All Metal Polish or our premium Chrome & Metal Polish. To repair scratches in rims with painted finishes, you can use any polish you’d regularly use to restore the rest of your vehicle’s clear coat, including Hybrid Solutions Pro 1 & Done Professional Polishing Compound and Hybrid Solutions Polish & Wax.
Before you fix scratches and swirls in your rims, start by to prepping your wheels and tires, using your designated wheel cleaner to remove dirt, grime and brake dust from every surface of your wheels. It's important to polish clean rims to avoid rubbing harsh soils and other contaminants into your metallic finish, creating even more scratches and swirls to repair!
Use your wheel cleaning brush to scrub away tough stains and soils and reach deep underneath your brake calipers to remove as much brake dust as possible. Allow your cleaner to dwell for the time specified on the bottle, then rinse thoroughly and hand dry your wheels with a microfiber towel.
After prepping your wheels and tires, place a hand on the surface of your rims to feel if they’re cool to the touch. If the metal feels warm or hot, use a garden hose to cool down your rims before you begin the restoration process. Never polish warm rims or exterior panels; doing so can dull your paintwork and metal finishes.
Once you’ve cooled down your wheels, move your vehicle out of the sun into a garage or under a tree or canopy to begin the polishing process.
To ensure that your polish is compatible with your metal or painted rims and gives you the results you want, choose an inconspicuous area, such as the edge of the rim, to perform a quick spot test. Apply a small drop of polish to a folded and quartered microfiber towel and buff the polish into a tiny section of your wheel rim. If light scratches and swirls disappear, you’re using the right polish and applicator. If you don’t see the level of correction you’re looking for, you may need to switch to a more aggressive polish or cutting pad.
If, for any reason, the polish damages your rims or leaves behind streaks or discoloration, stop using the product immediately! Switch to a different polish or consider consulting an auto repair shop.
Place a quarter-sized drop of polish on a clean, microfiber detailing cloth and gently buff this product into the damaged area of your rims to fix scratches and swirls. Take your time, using light, circular motions to smooth away any noticeable imperfections. Continue buffing the surface of your rims until all scratches and swirls have been removed.
Pro Tip: Use masking tape to section off any areas of your rims that you want to correct to avoid transferring polish on other parts of your wheels and tires. Then remove the tape and use any excess product to buff the surrounding areas to create an even finish.
Once you’ve finished erasing any light scratches and swirls, buff your rims to a glassy finish using a separate microfiber towel,blending out any patches that look smoother or shinier than the surrounding areas. For the best results, use a lint free cloth with a lightweight, microfiber blend to avoid streaking or contaminating your flawless finish.
Now that you’ve successfully removed the scratches from your rims, your last step is to apply a car wax or wheel protectant to minimize future damage to your wheels and tires. Consider investing in a durable synthetic wax like Hybrid Solutions Pro Flex Wax, or Hybrid Solutions Pro Max to the Wax to preserve that showroom restoration and give your wheels an extra pop of gloss!
Subscribe for your newsletter and the rewards will be in your inbox before you even get there
News, events and insights from Turtle Wax® worldwide
Exclusive offers and discounts on Turtle Wax® products
Regular treats and surprises for all subscribers